
Why Beverage Photography is Uniquely Challenging
Beverage photography is one of the hardest product photography disciplines. Unlike solid products, beverages have three unique challenges:
Glass Lighting: The Foundation
Lighting glass beverages requires precision and control.
Backlighting for Glass Beverages:
Place a bright light behind the glass to illuminate the beverage liquid and create transparency. This creates:
- — Visible liquid color (for teas, juices, sodas)
- — Edge separation from background
- — Glow effect that shows freshness
Side/Key Light for Glass Shape:
Position a secondary light at 45° to reveal the glass bottle/cup shape and create highlights. Use diffusion to avoid harsh reflections.
Creating Realistic Condensation
Condensation signals a cold, fresh drink. It's essential for beverage photography appeal.
Real Condensation (Best)
Chill the glass in freezer 2-3 hours. Place in room-temperature environment. Condensation forms naturally over 5-10 minutes. Shoot quickly before droplets evaporate.
Water Spray Method
Spray cold water on glass with fine mister. Creates immediate condensation effect. Lasts 20-30 minutes before evaporating.
Glycerin Drops (Professional)
Place glycerin drops on glass. They don't evaporate. Mix glycerin with water for realistic droplet effect. Removes easily in post-production.
Beverage Splash Photography
Splash photography requires timing, technique, and many attempts.
Setup for Splash:
- — High-speed flash (1/500-1/1000s shutter) to freeze motion
- — Clean background (white or dark, depending on beverage)
- — Protective barriers (plastic sheets to contain splashing liquid)
- — Camera positioned to capture peak splash moment
- — Multiple attempts (spray bottles, drop methods, hand tosses)
Expect 50+ attempts for one usable splash shot. Timing the peak splash moment is everything. Professional splash photography requires patience and technical mastery.
Managing Reflections & Highlights
Unwanted reflections kill beverage shots. Precise control prevents them.
Creating Controlled Highlights
Place small light sources strategically to create attractive highlights on glass. These highlights signal premium quality and product appeal.
Blocking Unwanted Reflections
Use black flags and gobos to block unwanted light sources that create confusing reflections in glass.
Post-Production for Beverage Photography
Retouching is essential for beverage shots.
- — Color correction: Bring out beverage liquid color. Increase vibrancy and saturation
- — Condensation enhancement: Sharpen and brighten real condensation droplets
- — Highlight control: Reduce harsh highlights, enhance subtle ones
- — Background cleanup: Remove unwanted reflections or dust
- — Bubble/foam enhancement: For carbonated beverages, enhance bubble detail
Frequently Asked Questions
How do you photograph a beverage bottle professionally?
Glass is lit through its edges and reflections, never directly: strip boxes behind and beside the bottle draw clean contour lines, a diffused backlight passes through the liquid for color glow, and black flags in front of the camera absorb stray reflections.
Are splash photographs a single shot or composited?
Most commercial splash images are multi-plate composites: a hero frame of the bottle perfectly lit, separate high-speed splash passes, and a post-production blend. It is the standard studio approach — a single capture rarely nails bottle, splash, and droplets at once.
What is the fake condensation trick for beverage photography?
A glycerin-and-water mix spritzed in fine droplets holds beading shape for hours under hot studio lights, where real condensation melts in minutes. It reads as genuine chill in the final image and is standard practice in beverage advertising.
What background works best for beverage photography?
Dark backgrounds with bright contour edges for premium spirits and luxury positioning; bright, fresh backgrounds with water droplets and fruit for juices and mixers. The lighting geometry changes with the choice — edges lit bright on dark, shaped dark on white.
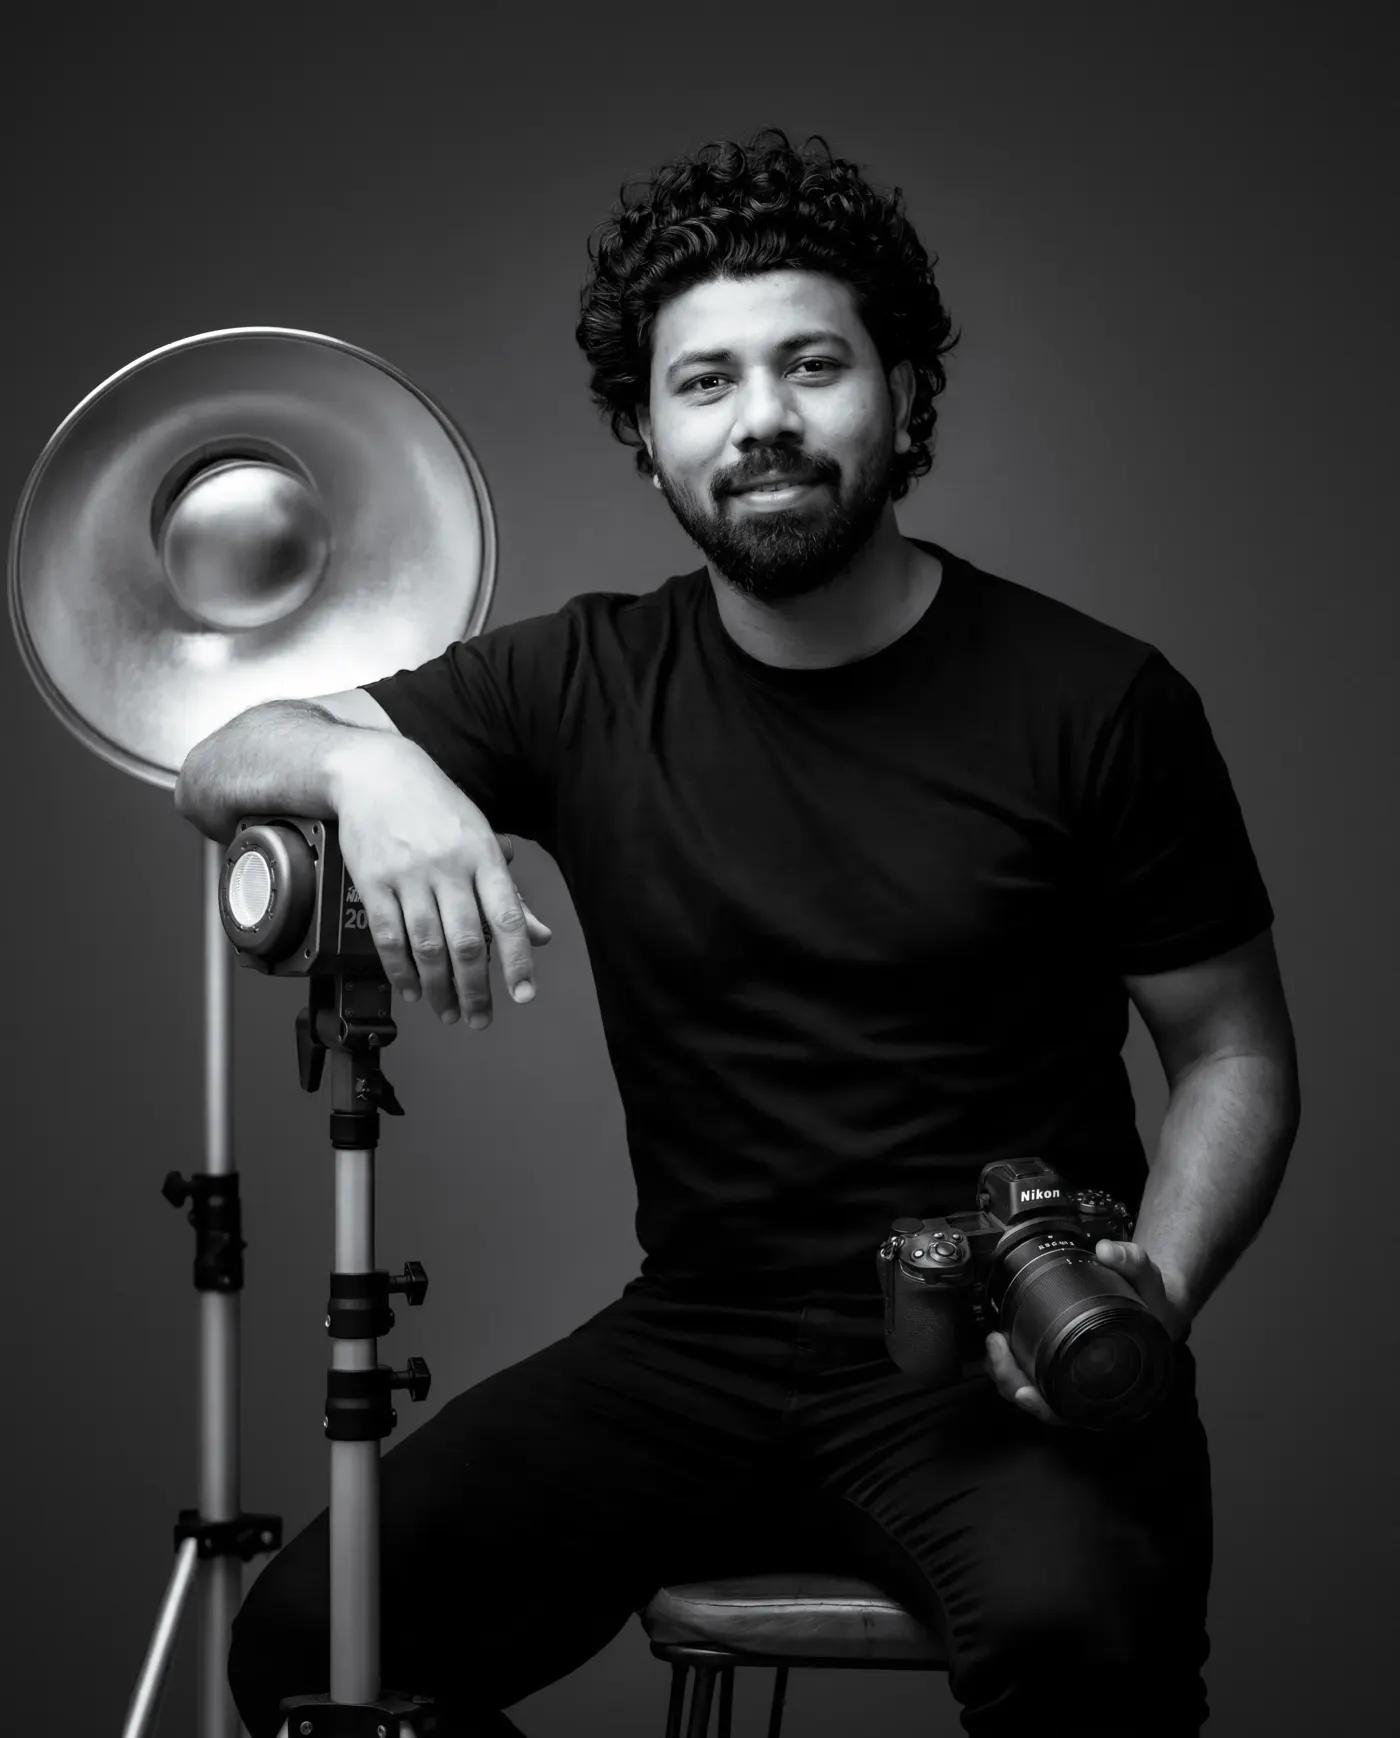
About the author
Rahul Chanda
Commercial product photographer based in Dehradun, India. 6+ years shooting product, food & beverage, and advertising campaigns with in-house retouching. Serving brands across Uttarakhand and pan-India.
View full profile →Need Professional Beverage Photography?
Beverage photography requires specialized lighting, technique, and equipment. We handle complete beverage and splash photography shoots.
Book Beverage Photography